Overview
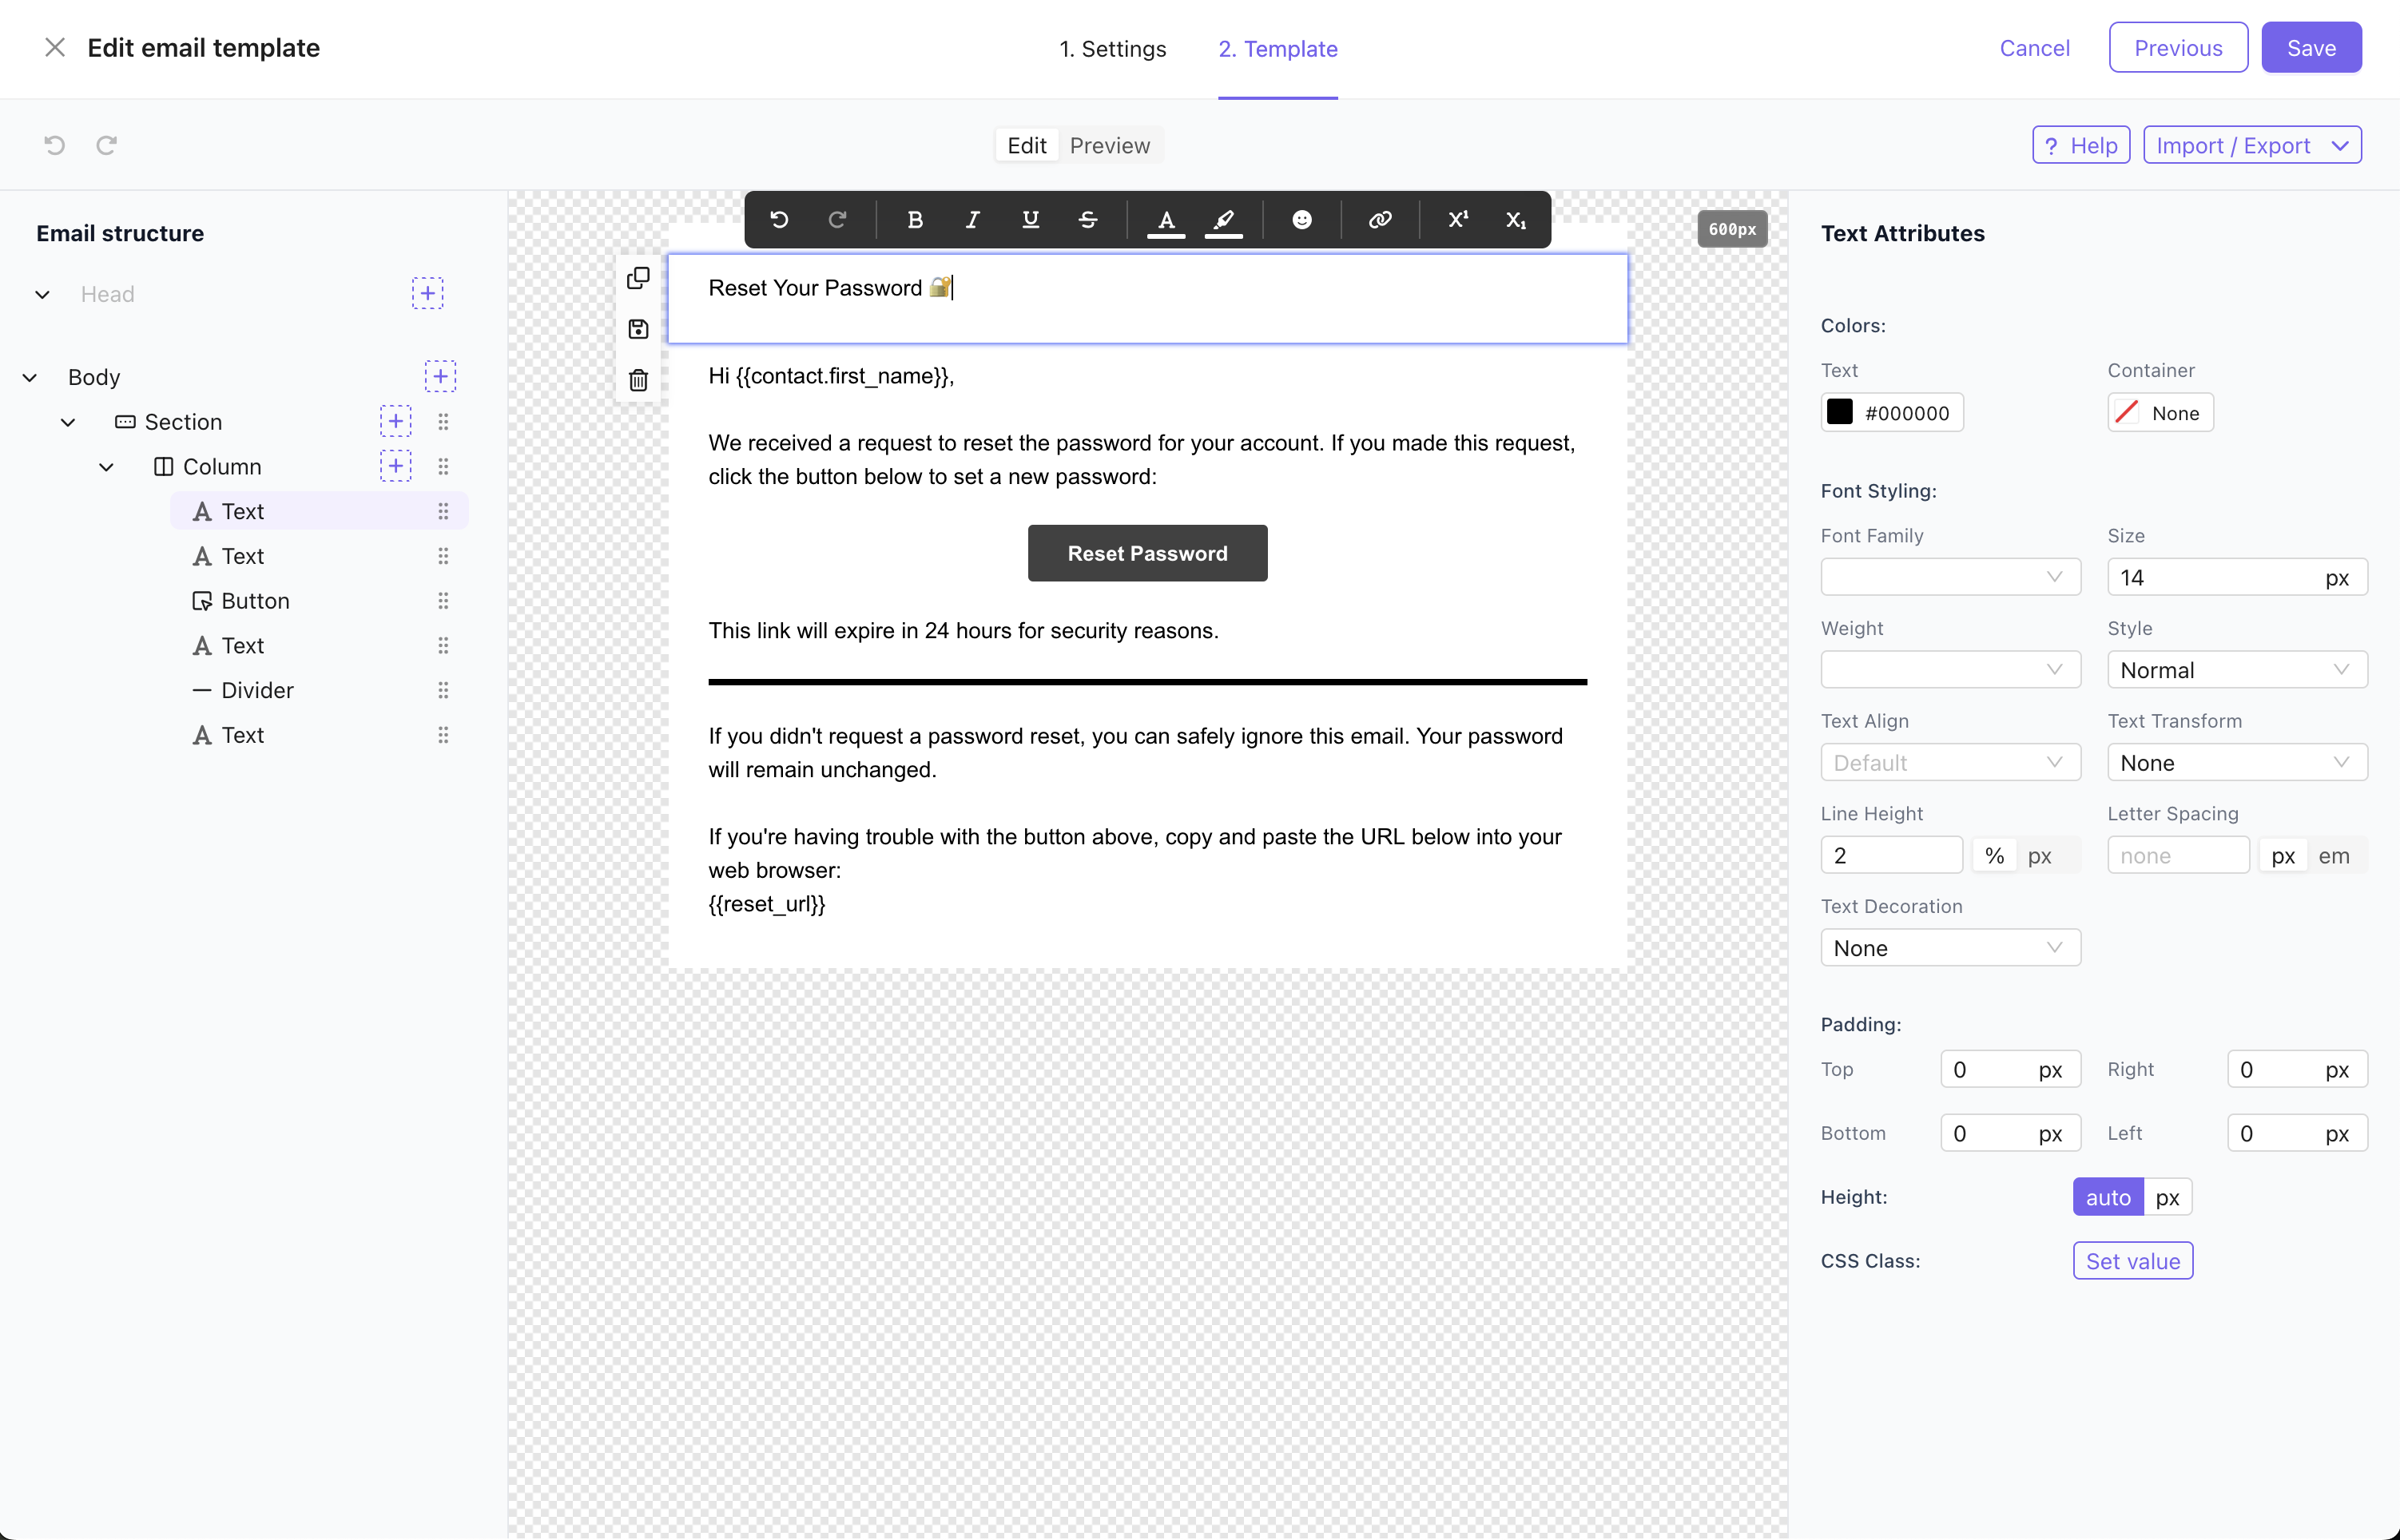
Email templates in Notifuse are built using a visual drag-and-drop editor that combines:- MJML Framework: Guarantees full email client compatibility across all devices and email providers
- Liquid Templating: Dynamic content personalization using variables like
{{ contact.first_name }} - Version Control: Every template update creates a new version to track previously sent contents
- Multi-Purpose: Used by both broadcast campaigns and transactional notifications
Template Builder Features
- Drag-and-Drop Interface: Visual editor for easy template creation
- Responsive Design: Mobile-optimized layouts that work across all devices
- Pre-built Blocks: Headers, footers, buttons, images, and content sections
- Brand Consistency: Colors, fonts, logos, and styling options
- Real-time Preview: See exactly how your email will look before sending
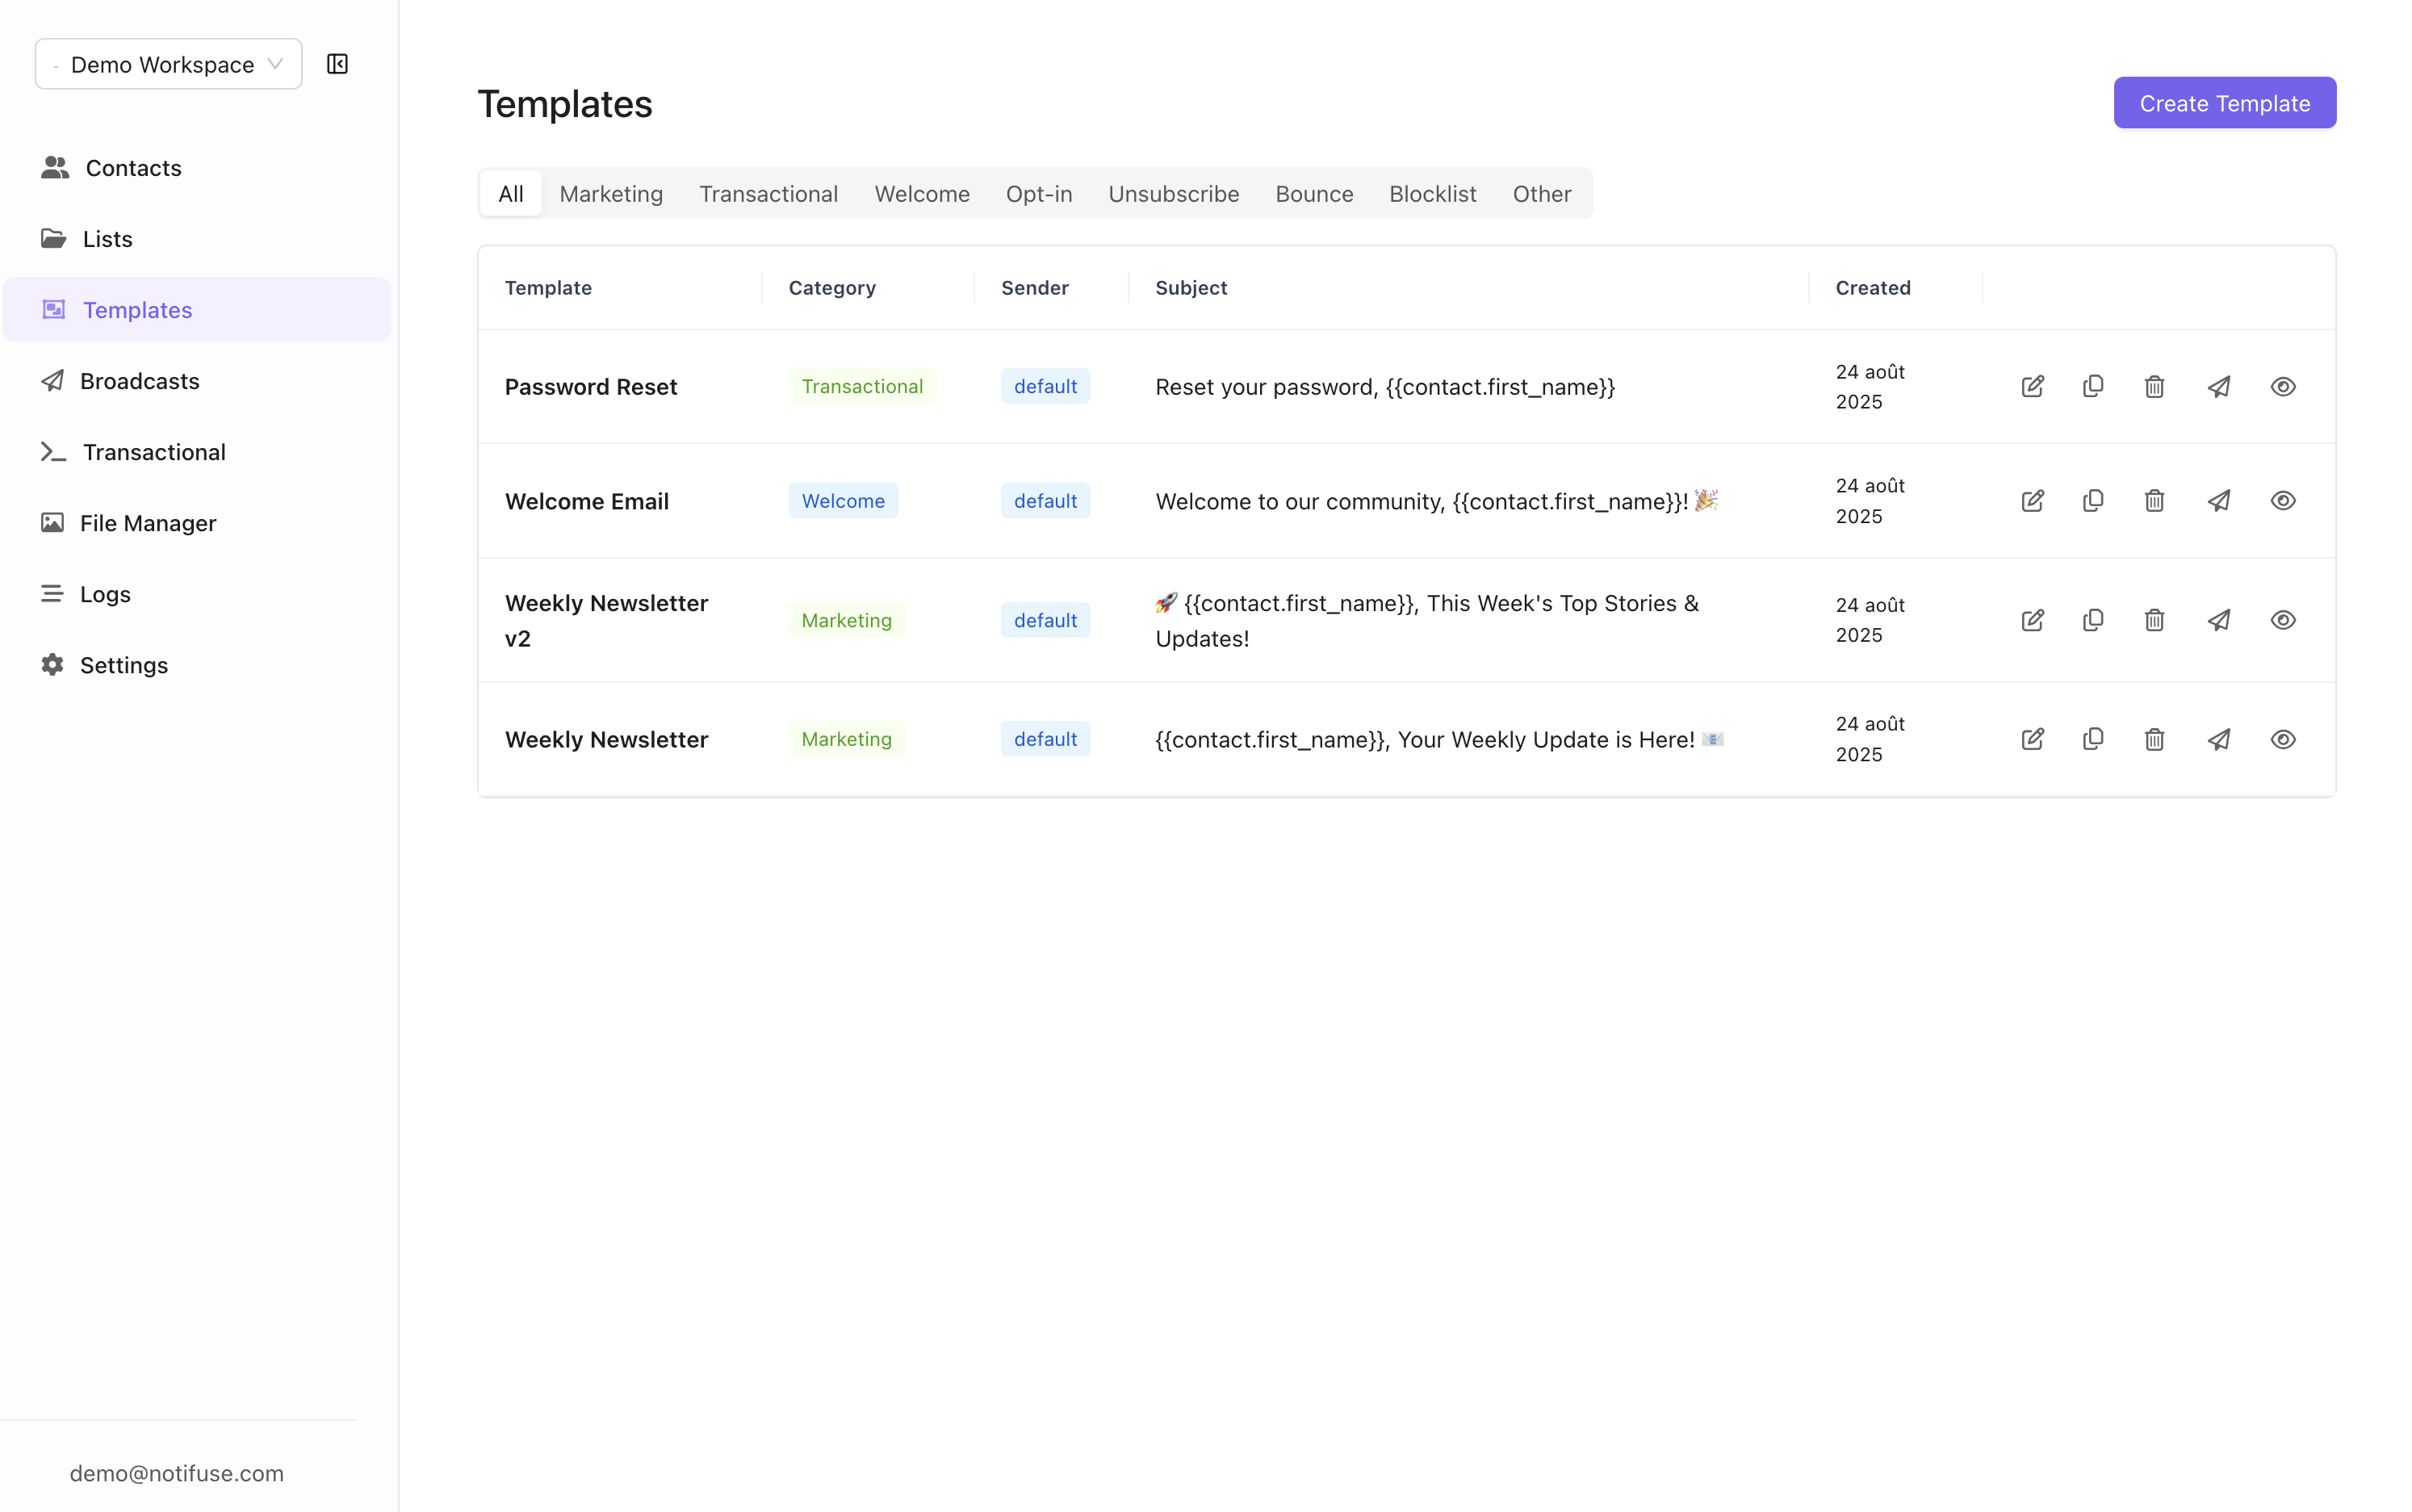
Usage
Templates are used across Notifuse for:- Broadcast Campaigns: Mass email campaigns sent to your contact lists
- Transactional Notifications: Automated emails triggered by user actions
- Double Opt-In Emails: Sent when anonymous contacts subscribe to lists
- Welcome Emails: Sent when contacts confirm their subsription to lists
- Unsubscribe Confirmations: Sent when contacts opt out
Liquid Syntax
Notifuse uses Liquid templating to insert dynamic content into your emails. Variables are enclosed in double curly braces and automatically replaced with actual data when emails are sent.Contact Variables
Thecontact object contains the full contact profile with all stored information. Access any contact field for personalization: