
Configuration
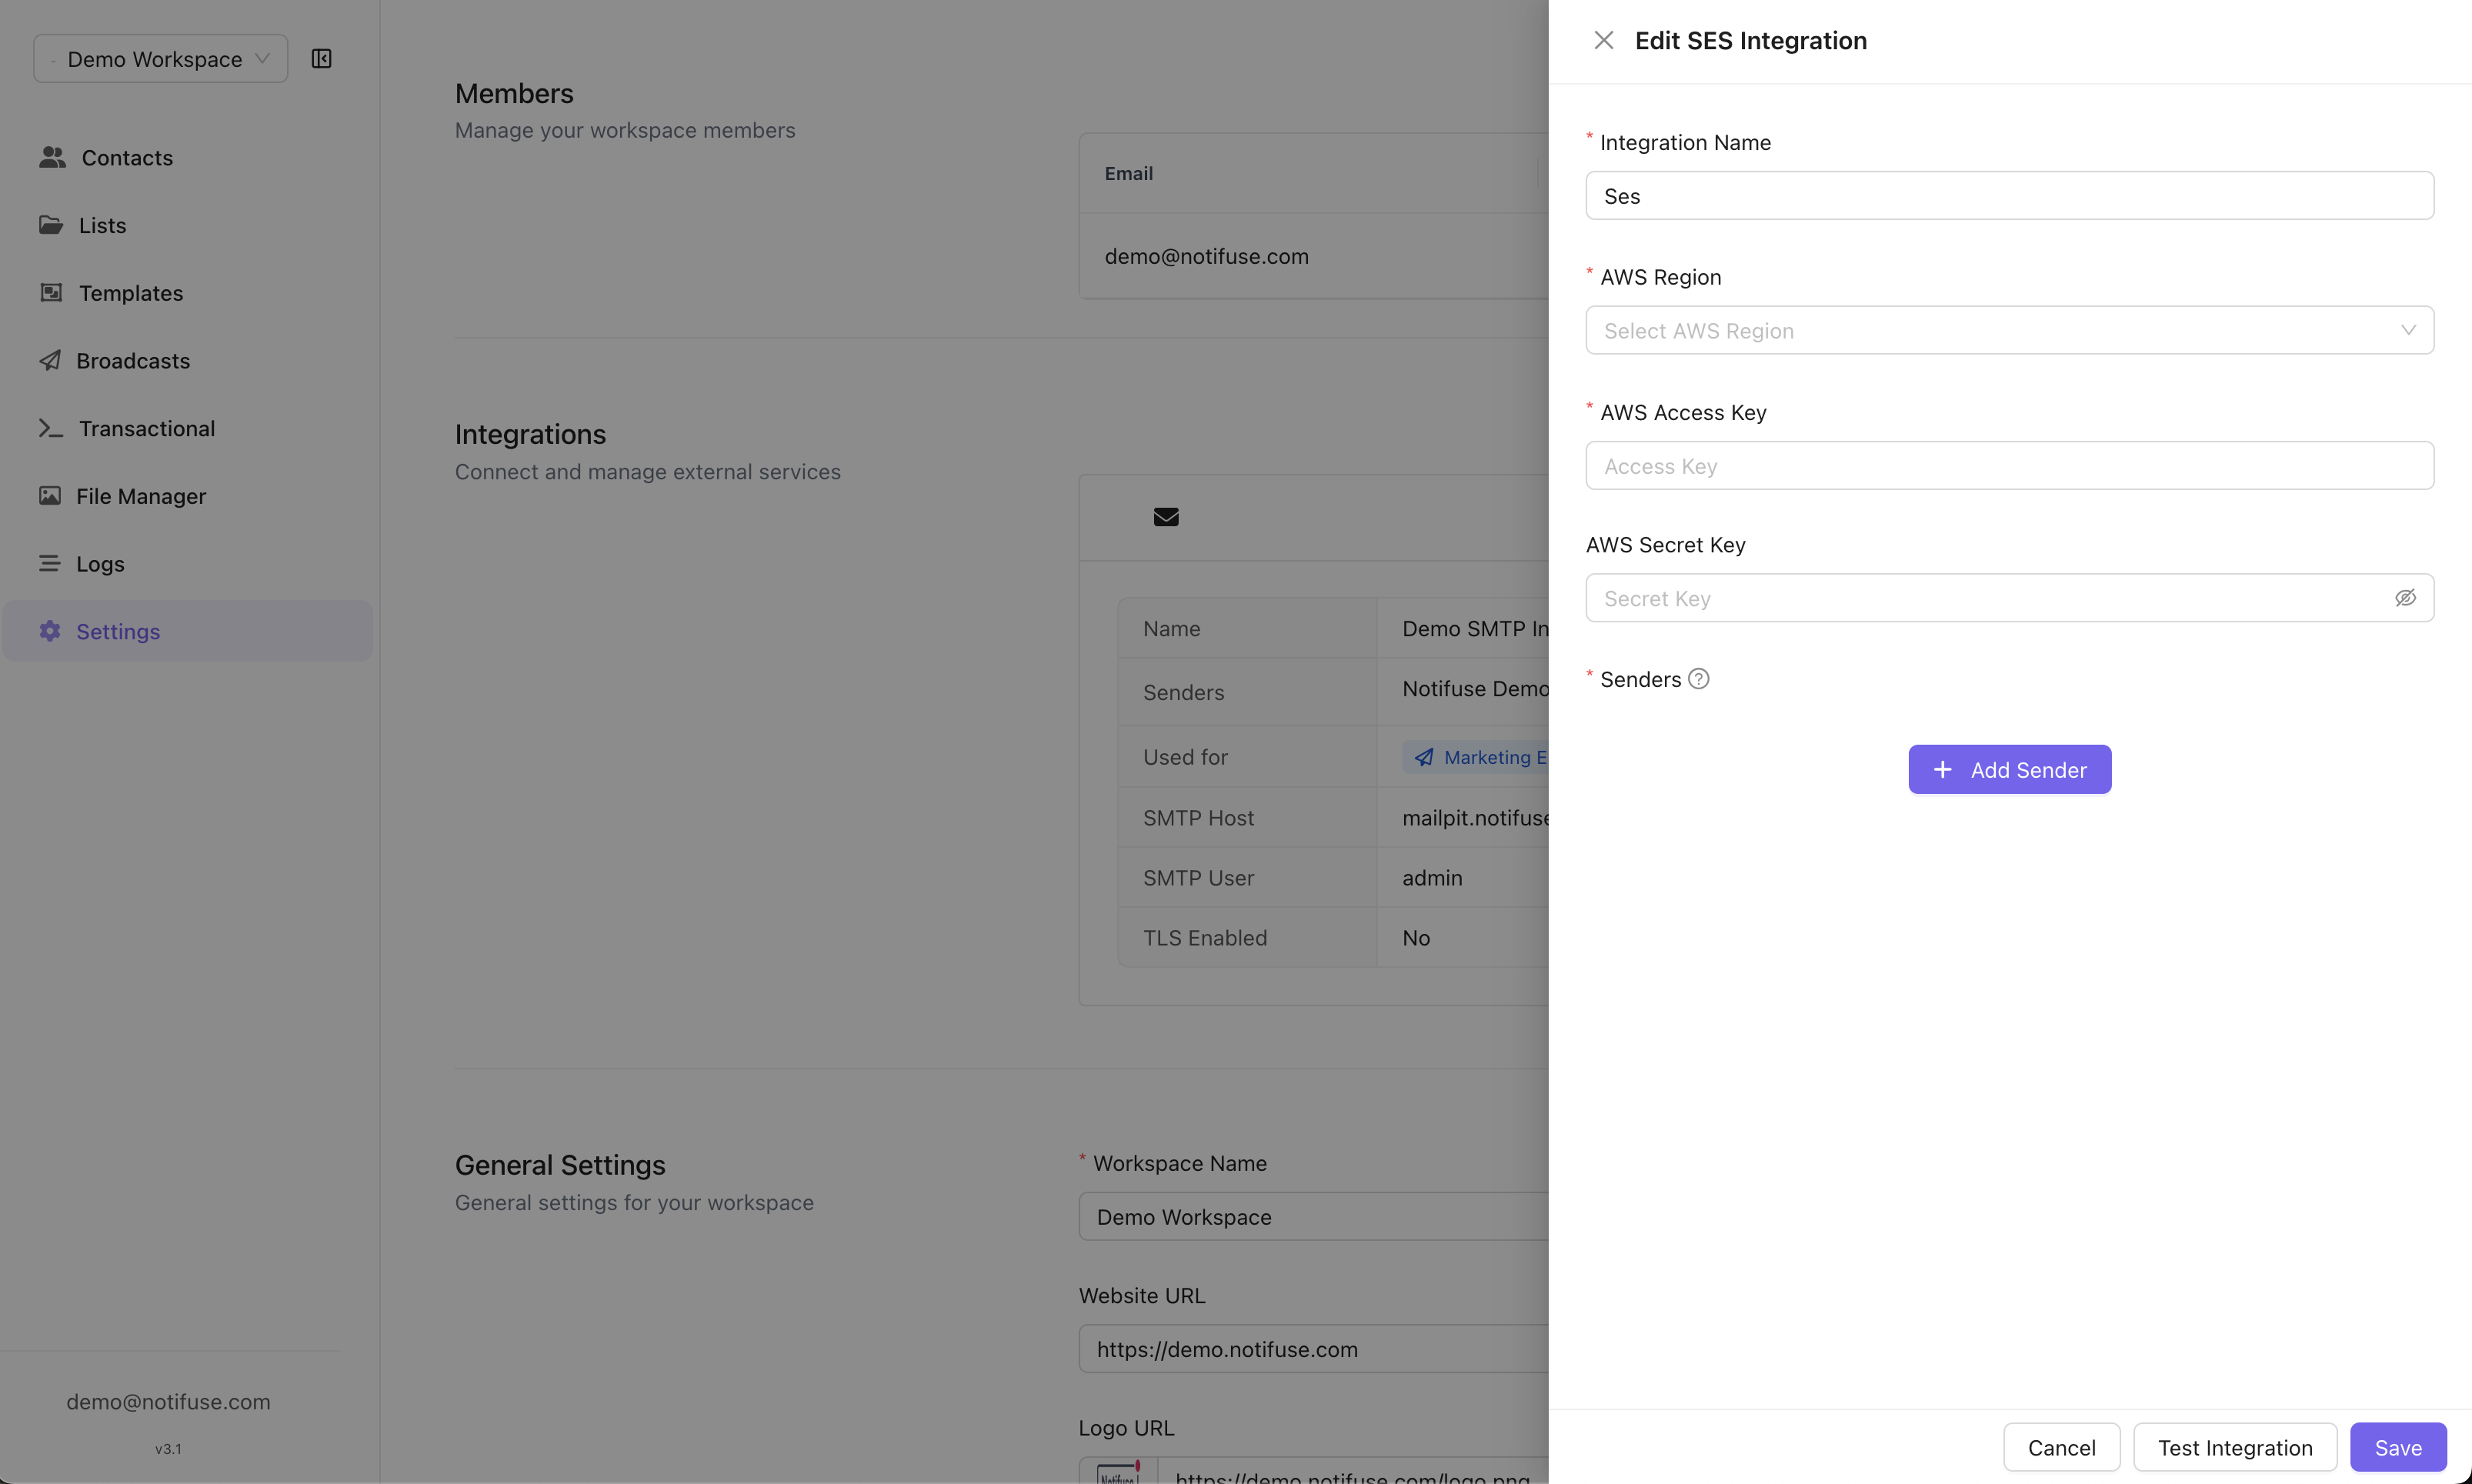
Navigate to Settings → Integrations → Add Integration → Amazon SES.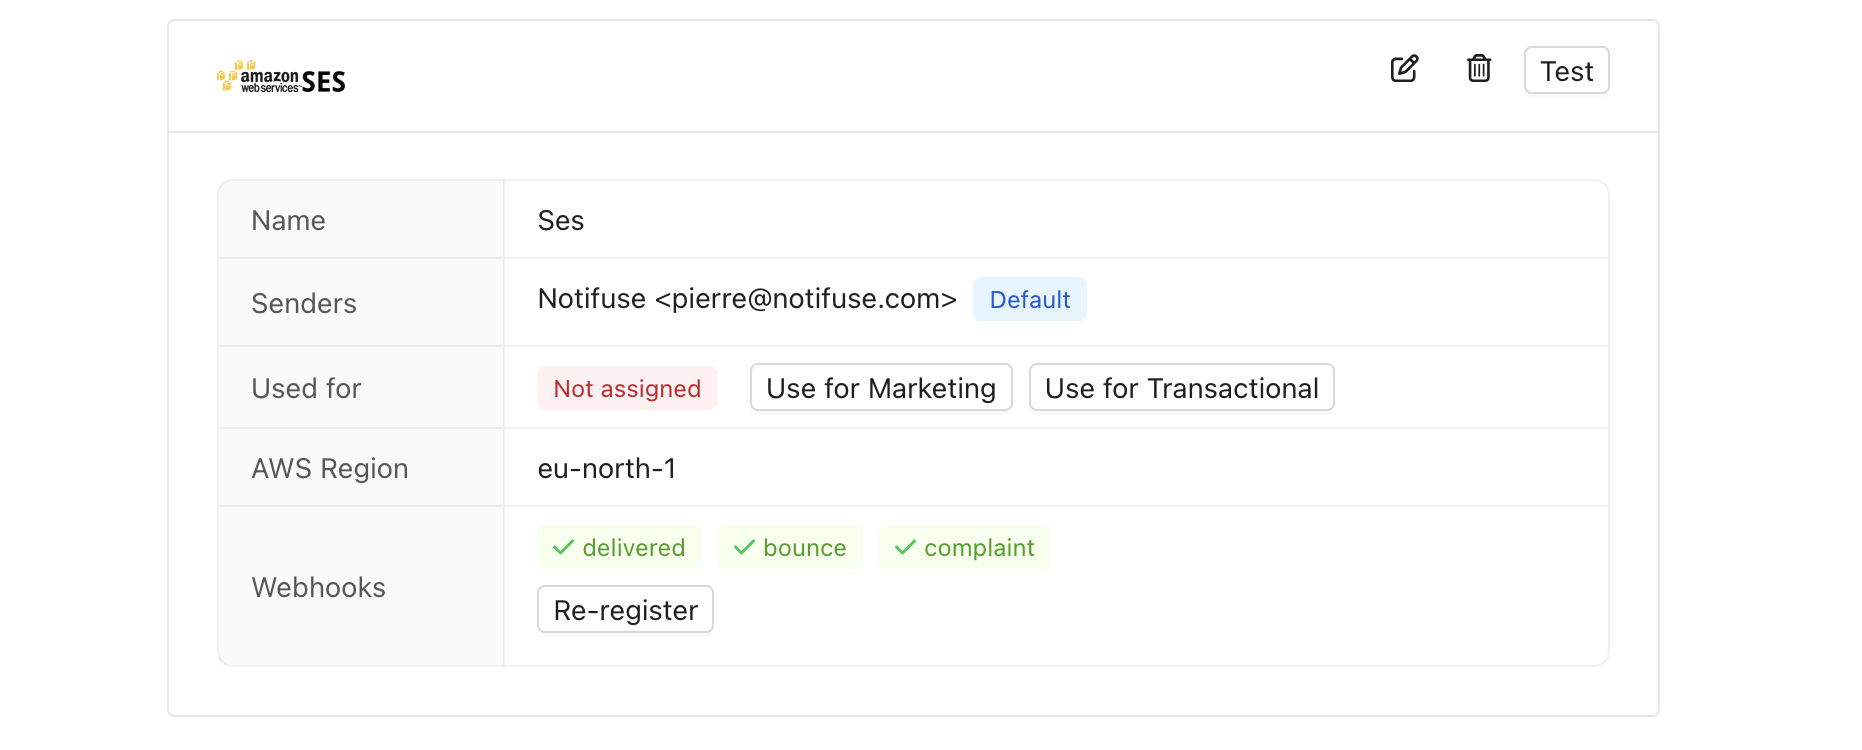
Form Fields
Senders List
Add sender addresses that have been verified in your AWS SES settings:
Important: Senders must be verified in AWS SES console before they can be used.
Usage Types
Configure how this Amazon SES integration will be used:
You can enable both options to use the same SES configuration for all email types.
Webhooks
Notifuse automatically subscribes to the following SES webhooks:
These webhooks provide real-time feedback on email performance and delivery status.
Reputation isolation (SES tenants)
By default every workspace in an AWS account shares one sending reputation and one suppression list. A badly targeted campaign from one team can push the account’s bounce or complaint rate over AWS’s thresholds and pause sending for everyone, and a hard bounce recorded for one workspace suppresses that recipient for all the others. Turning on SES tenant isolation gives an integration its own SES tenant: its own reputation profile, its own bounce and complaint metrics, and its own suppression list. AWS can then pause a single tenant instead of the whole account.Self-hosted: provisioning a new SES tenant needs a licence key. A tenant already provisioned keeps sending through its own reputation indefinitely without one — the send path contains no licence check. Every Notifuse Cloud plan includes it.
Enabling it
Open the integration (Settings → Integrations), switch SES tenant isolation on, and save. Notifuse confirms first — a tenant is a billable AWS resource — then provisions everything in your account:
Saving again re-runs the same steps. That is deliberate: it is how a sender you add later gets associated, and how a partial run is retried.
Tenant-level suppression is not the AWS default. A tenant created by hand in the SES console inherits the account-level suppression list unless you set the suppression scope yourself — giving you reputation isolation and silently not suppression isolation. Notifuse sets it at creation, and corrects the scope if it finds a tenant of that name already exists.
Isolation is scoped to the integration, not the workspace. A workspace running separate marketing and transactional SES integrations gets two tenants, each with its own suppression list, so a bounce recorded by one is not suppressed by SES on the other. Notifuse’s own per-workspace suppression still applies to both, so the practical exposure is a single extra send to an address SES already knows is bad.
What you’ll see
- A sender with no verified identity is reported by name after saving. Those sends would fail with or without tenants, so it is worth fixing.
- A missing IAM permission is reported with the exact action and an
awsCLI command to run. Notifuse does not switch the integration over to the tenant until its configuration set is associated: sending through a tenant whose configuration set is not attached makes SES reject every message, so a partial setup leaves sending exactly as it was. - The integration card shows the configuration set in use and whether reputation is
isolatedorshared with the rest of this AWS account.
Turning it off
Switching SES tenant isolation off takes effect on the next send: messages stop being scoped to the tenant and go out under the account’s shared reputation again. The tenant itself is left in AWS, so its suppression list and reputation history survive — switching back on resumes the same tenant rather than starting from zero.A tenant that isolation was switched off for keeps billing until the integration is deleted. Turn it off to change how you send; delete the integration to stop the charge.
Advanced: bring your own tenant or configuration set
Under Advanced, both fields are optional and suggest the names that actually exist in your account (they fall back to plain text if your credentials cannot list them):
Choosing your own tenant means you are responsible for associating the sending identity and the configuration set with it; otherwise SES rejects every send:
Tenants exist only in the SES API v2, which is what Notifuse now sends through. They are also region-scoped, so a tenant lives in the same region as its integration.
Inbound replies (stop-on-reply)
To use Exit on reply in automations, SES must forward inbound replies back to Notifuse. SES delivers received mail differently from sending it, so this is a one-time setup with two parts:- Point your domain’s MX records at SES. Add an MX record on your sending domain pointing at the SES inbound endpoint for your region—
inbound-smtp.<region>.amazonaws.com(for exampleinbound-smtp.us-east-1.amazonaws.com), at priority10. Without it, replies never reach SES. SES has no API for DNS, so this step is manual. - Register the inbound route. Click Register Webhooks on the SES integration (Settings → Integrations). Alongside the delivery, bounce, and complaint event webhooks, Notifuse provisions an SNS topic (HTTPS-subscribed to Notifuse, signed with SignatureVersion 2) and an SES receipt rule with an SNS action. The rule is added into your account’s active receipt rule set when one exists—it only forwards a copy and has no stop action, so it won’t disrupt an existing setup (such as Amazon WorkMail). A dedicated
notifuse-inboundrule set is created and activated only if no rule set is currently active.
SES email receiving is only available in a subset of AWS regions (for example
us-east-1, us-west-2, eu-west-1). If your integration’s region doesn’t support receiving, inbound registration reports as unavailable. See the AWS Email Receiving endpoints list.The inbound SNS topic, receipt rule, and subscription require IAM permissions beyond sending: sns:CreateTopic, sns:SetTopicAttributes, sns:Subscribe, ses:DescribeActiveReceiptRuleSet, ses:CreateReceiptRuleSet, ses:CreateReceiptRule, ses:SetActiveReceiptRuleSet, ses:DeleteReceiptRule, and ses:ListIdentities. The receipt rule is scoped to your account’s verified identities (both domain and email-address identities); if none are verified, inbound registration is refused rather than forwarding all account mail.Replies are matched to the original send by their Message-ID. SES overwrites the Message-ID header at send time, so Notifuse captures the value SES returns and matches it host-independently—no separate inbound signing key is required. Each inbound SNS notification is RSA signature-verified and bound to the provisioned topic (a message from any other SNS topic, even with a valid AWS signature, is rejected) before it is trusted, and the endpoint is rate-limited.Prerequisites
Before configuring Amazon SES:- AWS Account: Active AWS account with SES enabled
- Verified Senders: Email addresses or domains verified in AWS SES console
- IAM Permissions: AWS user with SES sending permissions — see below
- Production Access: Move out of sandbox mode for unrestricted sending